Post by WinterLoveStory on Oct 24, 2009 17:48:58 GMT -5
This isn't mine. I just thought I'd share what I found (:
Bronze Glam Eyes
Perfect For Holiday Events

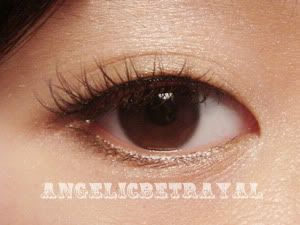
Just received my package from Sephora's F&F yesterday and my first time playing with some of the goods ^_^... also trying to revive this dying thread I did this tutorial pretty quickly and without contacts on haha. Excuse the droopy lashes... normally I would have applied more mascara but I wasn't going anywhere so I was too lazy to take it off.
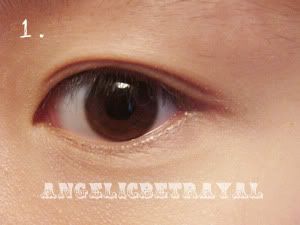
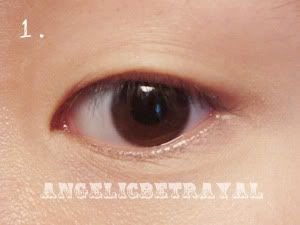
Step 1: Start with a clean canvas and conceal your under eye circles and apply eyeshadow primer. I finally have Urban Decay's Primer Potion!! This tutorial is suitable for both double and single lidders~ Also curl your lashes first!
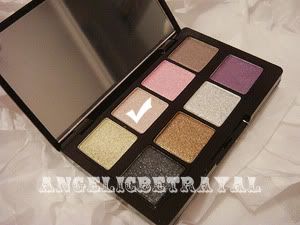
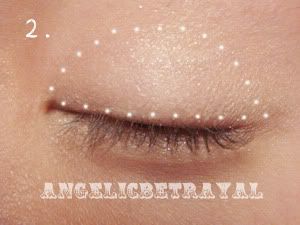

Step 2: Sweep a shimmery skin tone eyeshadow over the eyelid, concentrating on the inner part. I'm using a color from Too Faced Glamour To Go III Really liking this palette so far!! Then sweep down and using the tip of your applicator or brush line the lower lashline with the same color.
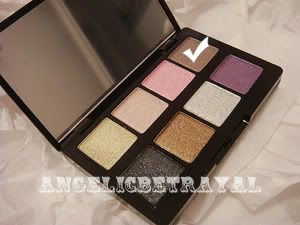

Step 3: Using a shimmer brown or taupe color make an outline close to your upper lashline. This is not really going on your crease but below it.
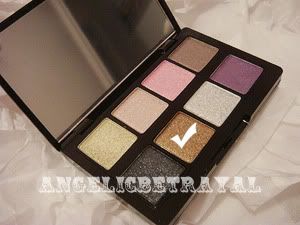

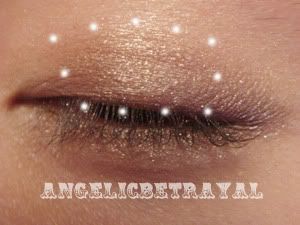
Step 4: Using a glittery gold color, line three fourths of your lower lashline and blend the color in the middle of your upper lid. The gold has a very pretty effect that will make your eyes pop!
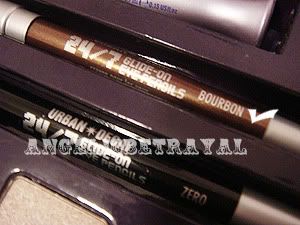

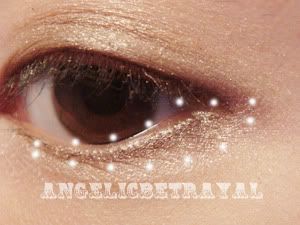
Step 5: Line your entire upper lashline and where the gold shadow is on your lower lashline. I used Urban Decay's 24/7 liner in Bourbon. Use a liner brush and smooth out the edges and extend the line into a wing.
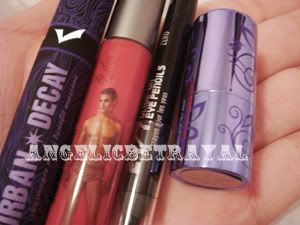

Step 6: Apply mascara!! I'm using Urban Decay's skyscraper mascara. This stuff is quite good; no clumping and makes my lashes look very natural. But we're not exactly going for natural here....
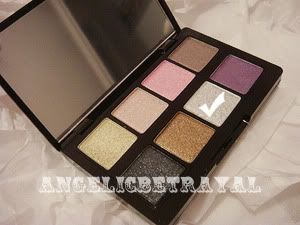

Step 7: Highlight! Use a silver glitter shadow on the inner tear duct corners and use the first skin color shade to highlight under the brow bone.
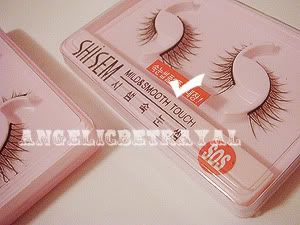

Step 8: Apply false lashes!! I'm using Shisem lashes~ There are a lot of videos on youtube on how to apply these.
That was pretty simple ^_^ Hope you guys liked it! Here are some more pictures of the finished product!!

Bronze Glam Eyes
Perfect For Holiday Events


Just received my package from Sephora's F&F yesterday and my first time playing with some of the goods ^_^... also trying to revive this dying thread
 I did this tutorial pretty quickly and without contacts on haha. Excuse the droopy lashes... normally I would have applied more mascara but I wasn't going anywhere so I was too lazy to take it off.

Step 1: Start with a clean canvas and conceal your under eye circles and apply eyeshadow primer. I finally have Urban Decay's Primer Potion!!
 This tutorial is suitable for both double and single lidders~ Also curl your lashes first!


Step 2: Sweep a shimmery skin tone eyeshadow over the eyelid, concentrating on the inner part. I'm using a color from Too Faced Glamour To Go III
 Really liking this palette so far!! Then sweep down and using the tip of your applicator or brush line the lower lashline with the same color.

Step 3: Using a shimmer brown or taupe color make an outline close to your upper lashline. This is not really going on your crease but below it.


Step 4: Using a glittery gold color, line three fourths of your lower lashline and blend the color in the middle of your upper lid. The gold has a very pretty effect that will make your eyes pop!


Step 5: Line your entire upper lashline and where the gold shadow is on your lower lashline. I used Urban Decay's 24/7 liner in Bourbon. Use a liner brush and smooth out the edges and extend the line into a wing.


Step 6: Apply mascara!! I'm using Urban Decay's skyscraper mascara. This stuff is quite good; no clumping and makes my lashes look very natural. But we're not exactly going for natural here....


Step 7: Highlight! Use a silver glitter shadow on the inner tear duct corners and use the first skin color shade to highlight under the brow bone.


Step 8: Apply false lashes!! I'm using Shisem lashes~ There are a lot of videos on youtube on how to apply these.
That was pretty simple ^_^ Hope you guys liked it! Here are some more pictures of the finished product!!


