
Post by Snow Goddess on Oct 23, 2009 10:53:35 GMT -5
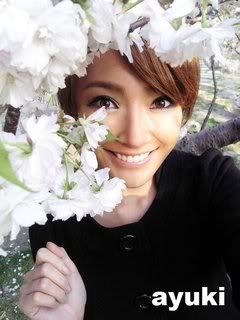
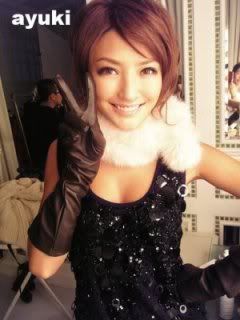
Ayuki is a Chinese net idol/model for the company Rayli, really gorgeous and kind-hearted girl. This is her tutorial, from her blog, translated by me, please credit both if use: blog.rayli.com.cn/?uid-1366493-acti...-itemid-1135159
**Edit: Because so many ppl are wondering...Ayuki is from mainland China, full Han Chinese.
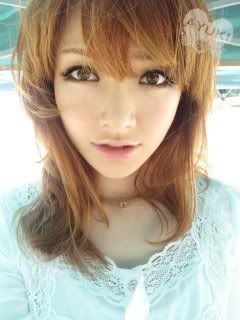
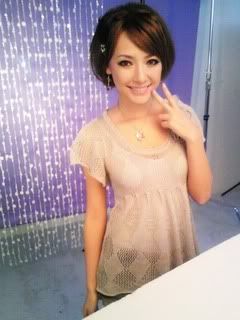
Her look:
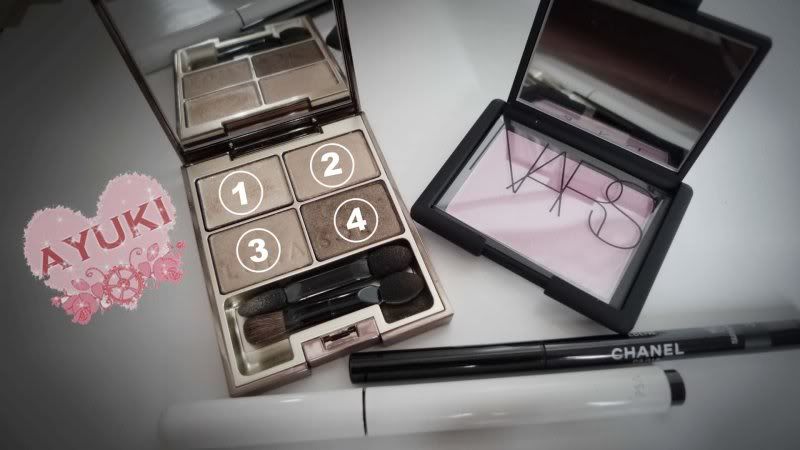
Makeup (Materials):
1. LUNASOL (01 Beige beige) eye shdaow. Natural looking browns with some sparkles will make the eyes look clearer.
2. NARS (NY 10022) blush in pink.
3. Chanel eyeliner, IPSA liquid liner, all in black.
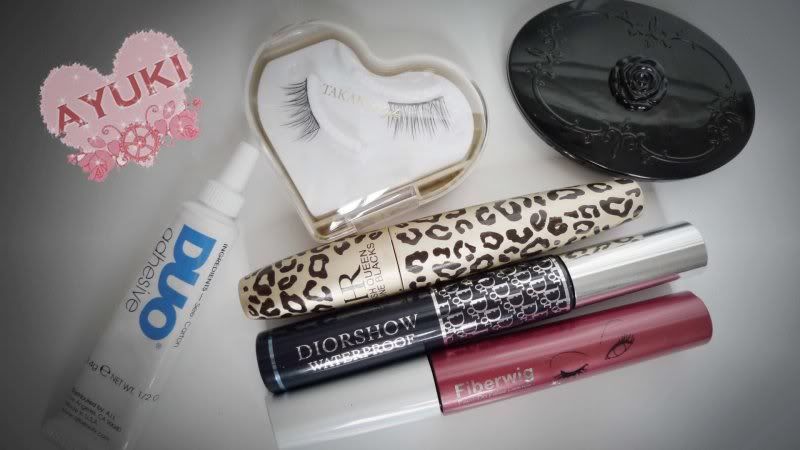
4. Japanese false eye lashes.
5.Anna Sui Powder
6. MAC mascara base
7. HR/DIORSHOW/DEJAVU FIBERWIG mascara
STEPS:
0. Pre-makeup
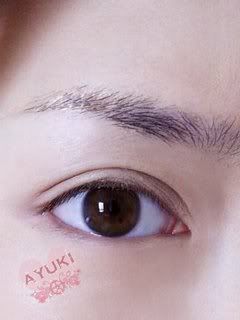
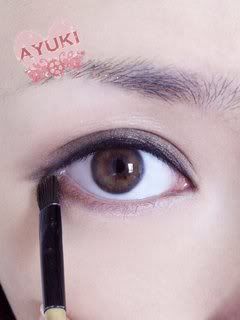
1. Use light brown colour as base (labelled #3 on materials picture), all over eyelid to create depth.
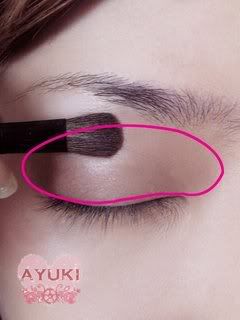
2. Next use colour #4, put a layer near the fold in the double eyelid. Even out the overlap between the two colours, and don't forget to elongate a bit by the corner of the eye (to get ready for the flick with eyeliner). From the eyebrow down to eye there should be a light to dark colour transition, darker colour near the eyeliner that will go on.
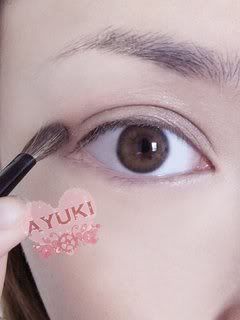
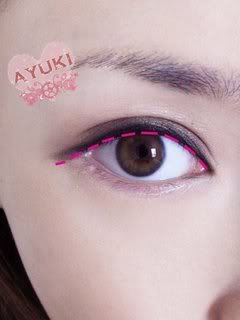
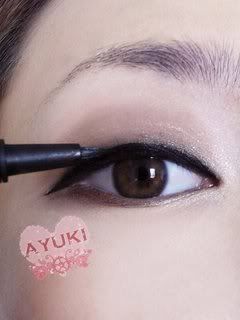
3. Eyeliner step, use the Chanel eyeliner to draw out the basic shape. Begin with the upper lid, line the roots of the eye lashes, fill the entire line. "I" like to leave the tear-duct part untouched.
4. Next line "where eyeliner normally goes" (meaning right above the lash-lines). Be sure to connect this line with the one by the lash-roots. The thickness of the line should be adjusted according to your eye size.
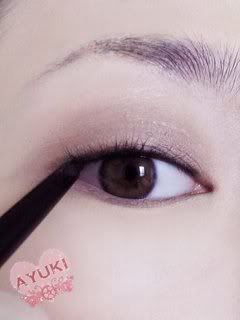
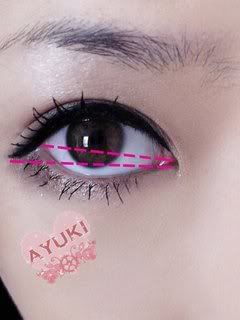
5. Note the tail of the eyeliner: Traditional methods make an upper flick, but it does not suit "my" eyes, "I" usually pull the line down 0.50-0.80mm. "My" eyes look 1/3 times bigger!

6. Use eyeshadow colour #4 to colour along the eyeliner to allow nice transition between the colours so the line does not look harsh.
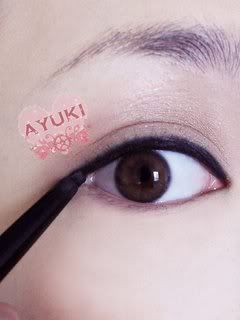
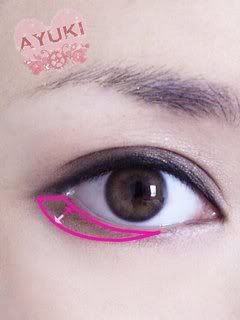
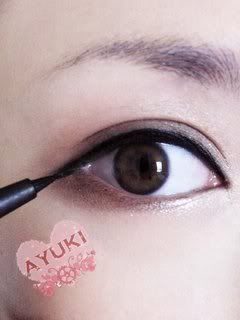
7. Continue with colour #4, line bottom of eye starting from eye corner down.
8. Important step: be careful with the blend and follow the arrow in the picture. Make the corner of the eye darkest and blend out to make it look more natural.
9. Use colour #1, a sparkly nude colour for the inner corner to make the eyes look bright.
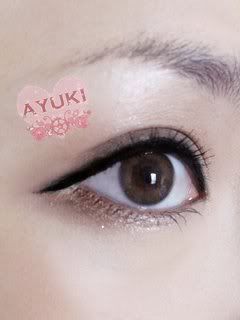
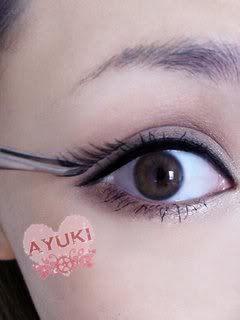
10. When all of this is done, use IPSA liquid liner to darken the eye-lines. Note: you can't draw it too thick, still follow the lash line.
11. Same as before, pull down at the outer corner.
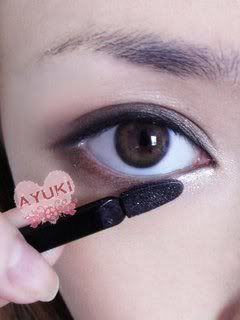
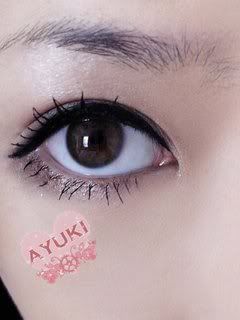
12. Mascara step with 3 layers. First layer, use DIOR-a mascara that holds shape.
13. Second layer, DEJAVU FIBERWIG to lengthen. Third layer, HR to darken and volumnize, the effect is very noticeable.
14. Compare the two slanted lines to see the original eye size and eye size that has been enlarged.
15. Lastly, false eyelashes at the tail of the eyelashes.
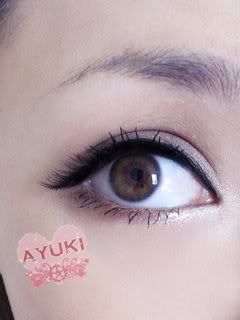
16. Finished eyes. Do eyebrows and blush as normal.
**Edit: Because so many ppl are wondering...Ayuki is from mainland China, full Han Chinese.
*****************
Her look:
Makeup (Materials):
1. LUNASOL (01 Beige beige) eye shdaow. Natural looking browns with some sparkles will make the eyes look clearer.
2. NARS (NY 10022) blush in pink.
3. Chanel eyeliner, IPSA liquid liner, all in black.
4. Japanese false eye lashes.
5.Anna Sui Powder
6. MAC mascara base
7. HR/DIORSHOW/DEJAVU FIBERWIG mascara
************************
STEPS:
0. Pre-makeup
1. Use light brown colour as base (labelled #3 on materials picture), all over eyelid to create depth.
2. Next use colour #4, put a layer near the fold in the double eyelid. Even out the overlap between the two colours, and don't forget to elongate a bit by the corner of the eye (to get ready for the flick with eyeliner). From the eyebrow down to eye there should be a light to dark colour transition, darker colour near the eyeliner that will go on.
3. Eyeliner step, use the Chanel eyeliner to draw out the basic shape. Begin with the upper lid, line the roots of the eye lashes, fill the entire line. "I" like to leave the tear-duct part untouched.
4. Next line "where eyeliner normally goes" (meaning right above the lash-lines). Be sure to connect this line with the one by the lash-roots. The thickness of the line should be adjusted according to your eye size.
5. Note the tail of the eyeliner: Traditional methods make an upper flick, but it does not suit "my" eyes, "I" usually pull the line down 0.50-0.80mm. "My" eyes look 1/3 times bigger!
6. Use eyeshadow colour #4 to colour along the eyeliner to allow nice transition between the colours so the line does not look harsh.
7. Continue with colour #4, line bottom of eye starting from eye corner down.
8. Important step: be careful with the blend and follow the arrow in the picture. Make the corner of the eye darkest and blend out to make it look more natural.
9. Use colour #1, a sparkly nude colour for the inner corner to make the eyes look bright.
10. When all of this is done, use IPSA liquid liner to darken the eye-lines. Note: you can't draw it too thick, still follow the lash line.
11. Same as before, pull down at the outer corner.
12. Mascara step with 3 layers. First layer, use DIOR-a mascara that holds shape.
13. Second layer, DEJAVU FIBERWIG to lengthen. Third layer, HR to darken and volumnize, the effect is very noticeable.
14. Compare the two slanted lines to see the original eye size and eye size that has been enlarged.
15. Lastly, false eyelashes at the tail of the eyelashes.
16. Finished eyes. Do eyebrows and blush as normal.